What do farmers and fighter pilots have in common? Each must operate complex machinery, adapt to unpredictable situations and make quality decisions. Operating without data is like flying blind – especially when it comes to soil health and fertility.
“Improving soil health takes time and knowledge,” says Kate Chamberlin, business analyst for AgSource. “Testing soil health gives us data to inform fertility programs, tillage practices, cover crops and even carbon markets.”
The Air Force’s OODA Loop was designed to help pilots make rapid decisions. It consists of four components: Observe, Orient, Decide and Act. Once you complete the OODA Loop, you start again.
You can use the same four-step strategy to make data-driven decisions for soil health. For soil health, that loop starts at the beginning of each soil sampling cycle.
The OODA Loop for Soil Health
Step 1: Observe
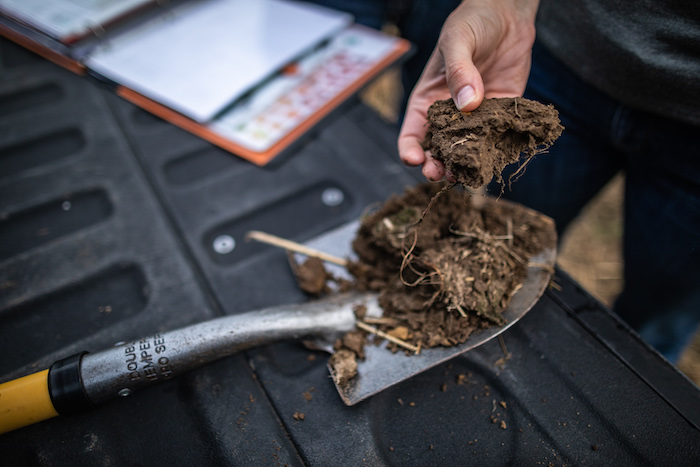
To operate effectively, you must understand your surroundings. If you want to improve your soil’s quality, you need to observe three main categories:
- Chemical – macronutrients (NPK), micronutrients, organic matter, soil pH and soil carbon.
- Physical – compaction, soil texture and water-holding capacity.
- Biological – living elements in the soil such as macro- and microorganisms like earthworms and beneficial microbes, respectively.
“Historically, soil testing focused on the chemical and fertility components of soil health,” says James Friedericks, Ph.D., quality and research director for AgSource. “Now these tests measure chemical, biological and physical functions, giving us more data to understand soil quality.”
Step 2: Orient
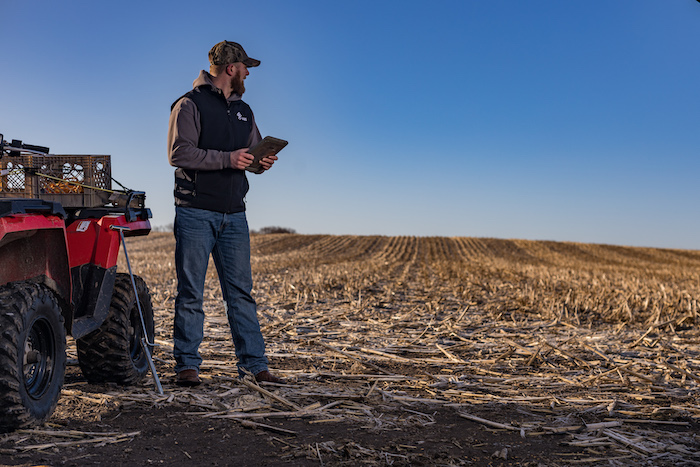
The orientation step relies on taking an unbiased look at a real-time snapshot of your soil. This means sampling – specifically, conducting a soil health test alongside your standard fertility soil sample to manage soil health. Unlike traditional grid sampling, which is used for precision fertilizer applications, you only need one or two composite samples representing different areas of a field for a soil health measurement.
Sampling procedure
“For the chemical and biological components of soil health testing, we use a similar sampling procedure as a traditional soil sample, utilizing a standard 6-inch soil probe,” says Friedericks. “The physical components and carbon stock measurement require a soil sample from a larger core.”
Soil health tests provide measurements such as:
- CO2 respiration to measure microbial activity in the soil
- Carbon-to-nitrogen ratio to evaluate nutrient availability
- Physical components – soil compaction, particle size, water holding capacity
- Water-soluble extractions to review the forms of nutrients most easily utilized by plants
- Orthophosphate P – the water-soluble form of phosphorus
“We recommend collecting the sample in the fall after harvest or in the spring before planting,” says Friedericks. “Whichever timing you choose, staying consistent each year is important for best results.”
Carbon benefit
Soil health testing can also be useful if you are interested in participating in carbon markets. The test provides data to show carbon sequestration in your fields.
“We're committed to helping you collect the right data so that when you join a carbon program, you can prove your carbon stock,” says Chamberlin.
Step 3: Decide
As you review your soil health test results, it is important to know the actionable steps you can take – from tillage to fertility to liming.
One common example: your test reveals low organic matter. Adding a cover crop to your rotation can improve organic matter over time. As soil organic matter increases, so does its water-holding capacity and the overall durability of the soil.
You can fine-tune your plan by consulting with your local agronomist or lab.
Step 4: Act
This is where the rubber meets the road for your decision-making. After you take action, you get to see the outcomes of your decisions. From there, it is time to start the OODA Loop again for next season.
“Improvement doesn’t happen overnight, but by consistently benchmarking through soil health testing, you'll be able to evaluate the improvements you're making,” says Friedericks.
How to get started
“It's good to start with a field that has room for improvement and compare it to a field or location that you know is more productive,” says Friedericks. “If there's an opportunity to compare to the corner of a pivot or a fencerow, somewhere that isn't cultivated, you can get a more accurate assessment of what's possible.”
To learn more about what measurements are included in a soil health test and how they can help your farm, contact your local agronomist or visit agsource.com.